If you’ve ever wondered how to rewire a generator stator, you’re not alone. Many DIY enthusiasts or technicians face this challenge at some point.
In this comprehensive guide, we will break down the process, providing clear steps and helpful tips to make the task easier.
What is a Generator Stator?
Before diving into how to rewire a generator stator, it’s essential to understand what a stator is.
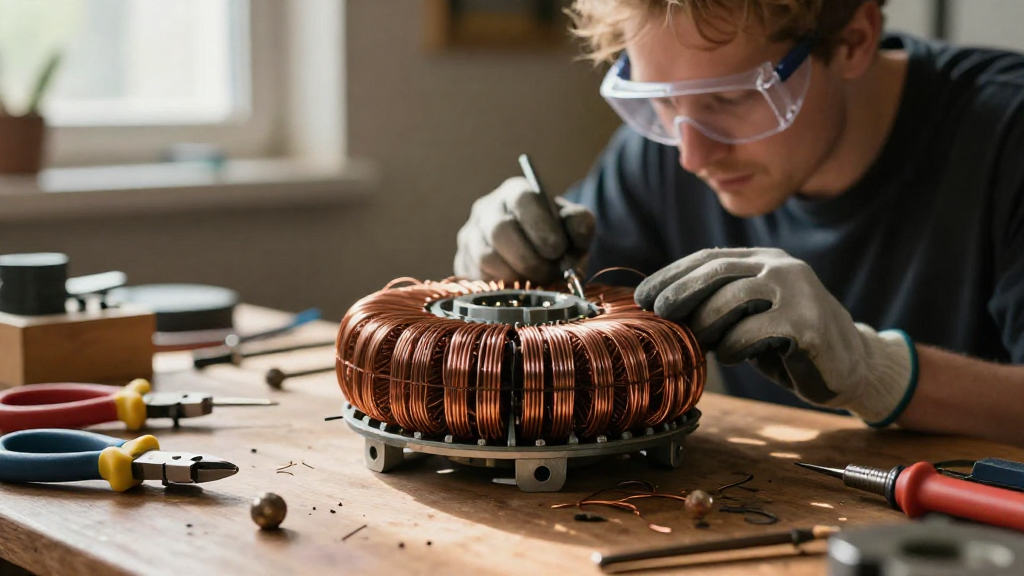
The stator is the stationary part of an electric generator or motor. It consists of coils of wire that generate electricity when subjected to a magnetic field.
A malfunctioning stator can lead to reduced efficiency or complete failure of your generator.
Why Wire a Generator Stator?
Rewiring a generator stator can be necessary due to several reasons:
-
Wear and Tear: Over time, the insulation on the wires may deteriorate, leading to shorts.
-
Overheating: Excessive use or environmental factors can cause overheating, damaging the windings.
-
Modification: Upgrading to a higher output or different configuration may require rewiring.
Understanding these reasons can motivate you to learn how to rewire a generator stator effectively.
What Tools Do You Need to Rewire a Generator Stator?
Having the right tools can make the rewiring process a lot smoother. Here’s a list of essential tools you’ll need:
-
Multimeter: For testing continuity and voltage.
-
Screwdrivers: Various sizes for opening the generator casing.
-
Soldering Iron: To solder connections securely.
-
Wire Cutters/Strippers: For cutting and stripping the ends of wires.
-
Heat Shrink Tubing: To insulate the soldered connections.
-
Electrical Tape: For additional insulation.
-
Replacement Wire: Make sure to use the correct gauge and type for your generator’s specifications.
Having these tools ready will put you on the right track as you learn how to rewire a generator stator.
How Do You Identify Stator Issues?
Before proceeding with the rewiring process, you’ll need to identify the issues with your stator. Here’s how you can do that:
-
Visual Inspection: Look for signs of damage, burnt wires, or corrosion.
-
Test Continuity: Use your multimeter to check the wiring.
-
Measure Output: Test the stator’s output to see if it meets specifications.
-
Look for Strange Noises: Unusual sounds during operation can also indicate issues.
By conducting these checks, you’ll better understand what you need to do when figuring out how to rewire a generator stator.
How to Rewire a Generator Stator Step-by-Step
Now, let’s dive into the how to rewire a generator stator process. Follow these steps carefully:
Step 1: Disconnect Power
Always start by disconnecting the generator from any power source. This is crucial for your safety.
Step 2: Remove the Stator Cover
Using your screwdrivers, carefully remove the cover of the generator to access the stator.
Step 3: Take Photos
Before disassembling anything, take pictures of the wiring configuration. This will help you during reinstallation.
Step 4: Disconnect Wires
Carefully unhook the wires connected to the stator. Use your multimeter to test continuity and ensure you’re correctly identifying each wire.
Step 5: Remove the Stator
Now, remove the stator from the generator housing. This might involve removing additional screws or bolts.
Step 6: Inspect the Stator
Next, check the stator for signs of damage or wear. If the windings appear burnt or worn, you’ll need to replace them.
Step 7: Prepare for Rewiring
Using wire cutters or strippers, get the replacement wire ready. Make sure you cut the wire to the necessary lengths.
Step 8: Rewind the Stator
This step requires careful attention. Begin rewinding the coils back onto the stator:
-
Follow your pictures as a guide.
-
Keep the coils tight but not so tight that they damage the insulation.
-
Secure each winding with a tie before proceeding.
Step 9: Connect the Wires
Now, you’ll need to connect the wires back to the stator. Solder them where needed and cover each connection with heat shrink tubing or electrical tape for safety.
Step 10: Reassemble the Generator
Carefully reinstall the stator back into the generator casing.
Make sure to reattach all screws and secure the cover properly.
Step 11: Test the Generator
Finally, after reassembling everything, you’ll want to test the generator:
-
Reconnect it to power.
-
Start the generator and monitor its performance.
-
Use your multimeter to test output voltage.
This step will confirm whether you have successfully learned how to rewire a generator stator.
How Can You Maintain Your Generator Stator?
Once you’ve successfully rewired your generator stator, it’s essential to maintain it for optimal performance.
Here are a few tips:
-
Regular Inspections: Check for wear or damage periodically.
-
Keep It Clean: Dust and dirt can cause overheating. Ensure it’s clean and free of debris.
-
Use Proper Load: Don’t overload your generator, as that can lead to premature failure.
-
Store Properly: If you’re not using the generator, store it in a dry, cool place.
Following these tips will extend the life of your rewired generator stator and boost your knowledge about how to rewire a generator stator.
Conclusion
Rewiring a generator stator might seem daunting at first, but with the right tools, knowledge, and systematic approach, you can successfully carry out the task.
By understanding what a generator stator is, identifying issues, and following our detailed steps, you’ve gained the knowledge necessary to tackle this project.
Remember to maintain your generator regularly to avoid further wiring issues.
Now that you know how to rewire a generator stator, you can enhance the performance and lifespan of your generator for many years to come!